Search Product
Our Categories
Your Cart
Your shopping bag is currently empty
Continue Shopping
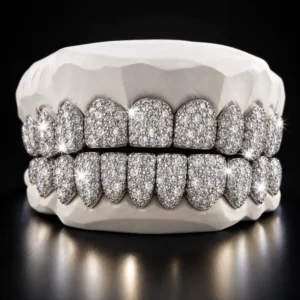
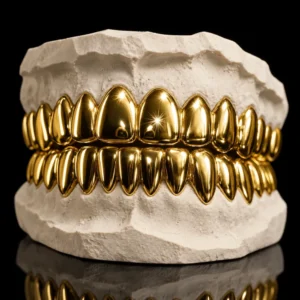
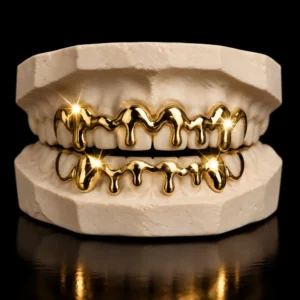
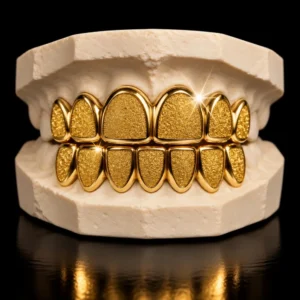
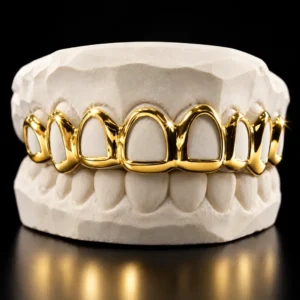
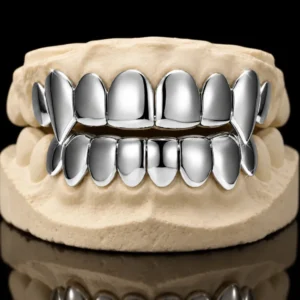
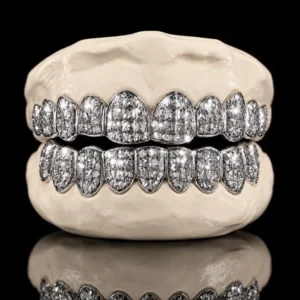
At-home mold kit
Mold impression guide
Your grillz are made from this mold, so a sharp, complete impression means a perfect fit. It takes about 15 minutes. Take your time.
In your kit
- An upper tray and a lower tray
- Impression putty in two colors (they only work when mixed together)
- A prepaid return label for sending your mold back
Keep the putty at room temperature. Heat makes it set faster, cold makes it slower.
Which tray do I use?
| Top grillz | Upper tray only |
|---|---|
| Bottom grillz | Lower tray only |
| Top & bottom | Both trays, one at a time |
Doing both? Finish the first impression completely before you mix putty for the second one.
Before you start
- Brush and floss, so no food is left between your teeth.
- Take out any mouth jewelry and retainers.
- Wash your hands and dry them well. Wet hands make the putty slippery.
- Stand in front of a mirror and keep a timer (or this page) ready.
- Wearing braces? Do not use the kit. Contact us first.
Practice run (no putty)
Slide the empty tray over your teeth once. It should cover all the teeth you want grillz on, plus a little past them on each side. Get a feel for how far up (or down) it needs to go, then take it out.
-
Step 1
Mix the putty
Take one full piece of each color for one tray. Knead them together quickly with your fingers until it is one solid color with no streaks, usually 30 to 45 seconds. Don't over-mix: the putty starts to set while you work.
-
Step 2
Fill the tray
Roll the putty into a thick sausage, bend it into a horseshoe and press it into the tray. Spread it evenly, a little higher at the front where your front teeth go. The putty should come up to the edge of the tray, so your gum line gets into the mold too.
-
Step 3
Push the tray in
Pull your lips out of the way, center the tray, and push it straight onto your teeth until you feel it reach your gums. Press with your thumbs on both sides so the pressure is even, back teeth and front teeth together.
- Upper tray: push up
- Lower tray: push down
Use your fingers, not your bite. Biting pushes the putty out of shape.
-
Step 4
Hold still until it is hard
Keep holding the tray in place and start the timer. Breathe slowly through your nose, and lean forward a little if you feel like gagging. Stay still: no talking and no moving the tray.
5:00The time on your putty's package always comes first. Before removing, press a fingernail into the leftover putty at the edge of the tray: if it leaves no dent, it is ready.
-
Step 5
Take it out carefully
Loosen the tray by lifting gently at the back, then pull it straight off your teeth in one smooth move. Leave the putty in the tray. Do not rinse it, cut it, or try to fix it.
Good mold
What a good mold looks like
- Every tooth you want grillz on is fully there
- Sharp edges and clear details on each tooth
- Part of the gum line is visible all around
- No large holes, tears or smeared spots
Common mistakes
Why molds fail
- Tray not pushed far enough, so the gum line is missing
- Uneven pressure, so one side is shallow
- Streaky putty that never fully hardens
- Biting down or moving while it sets
- Taking the tray out too early
After your mold
- Send us photos first. We check your mold before you mail it, so you don't lose time on a mold that can't be used.
- Let the mold sit for a few minutes, then put it in the bag from your kit.
- Add a note with your name and order number.
- Wait for our "mold looks good" email, then ship it with the prepaid return label.
Finished your mold?
Send us a few clear photos (top, bottom, and one from the side). We usually answer the same day.
Send mold photosQuestions or something went wrong? Call (314) 388-4000. We can send you a new kit.